
Last updated November 14, 2026
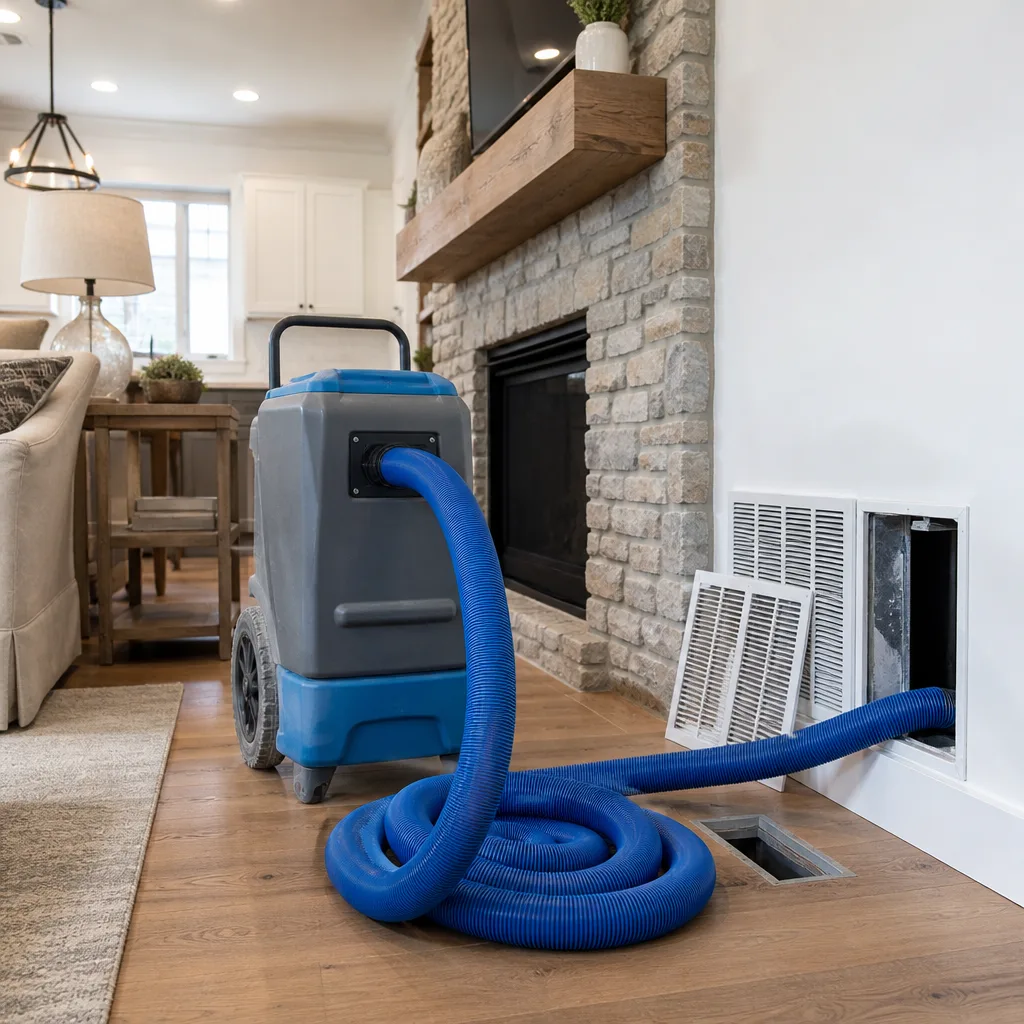 Whole-home duct cleaning
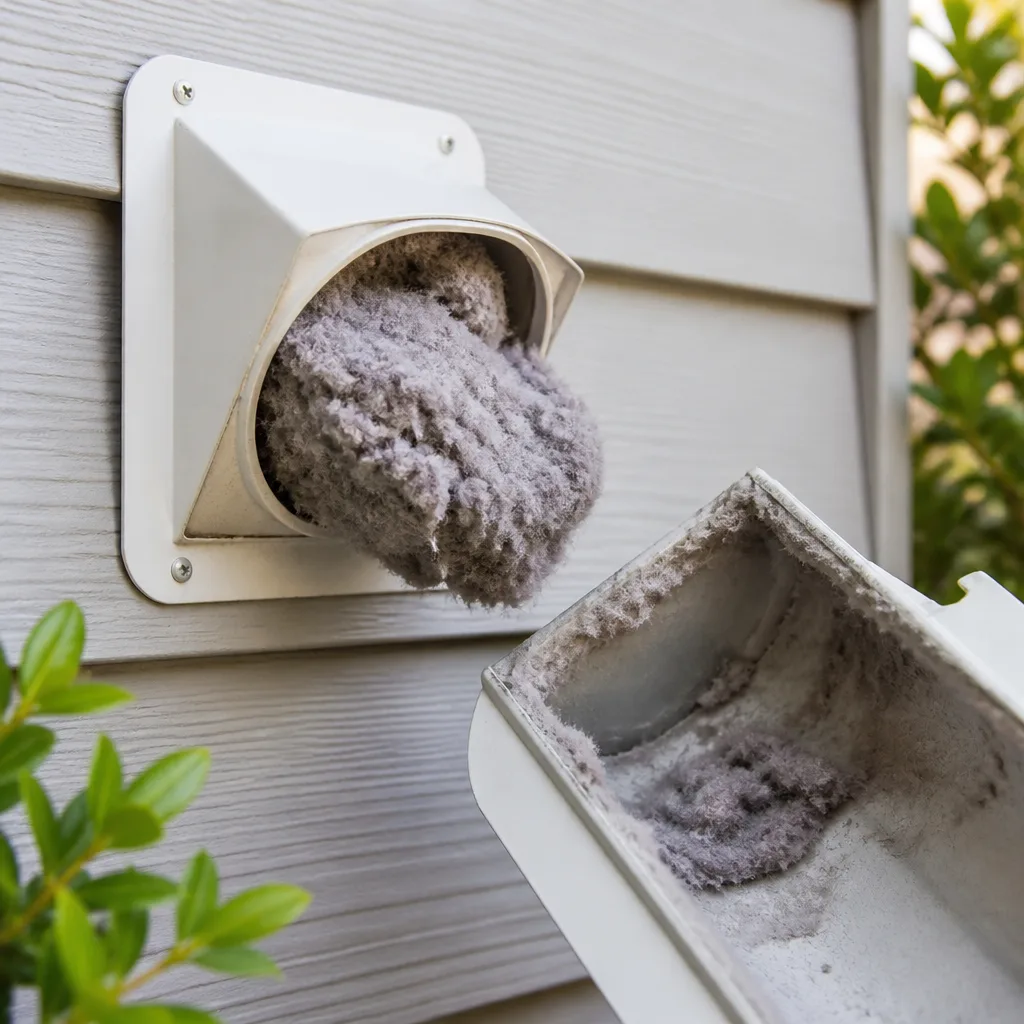 Dryer vent cleaning
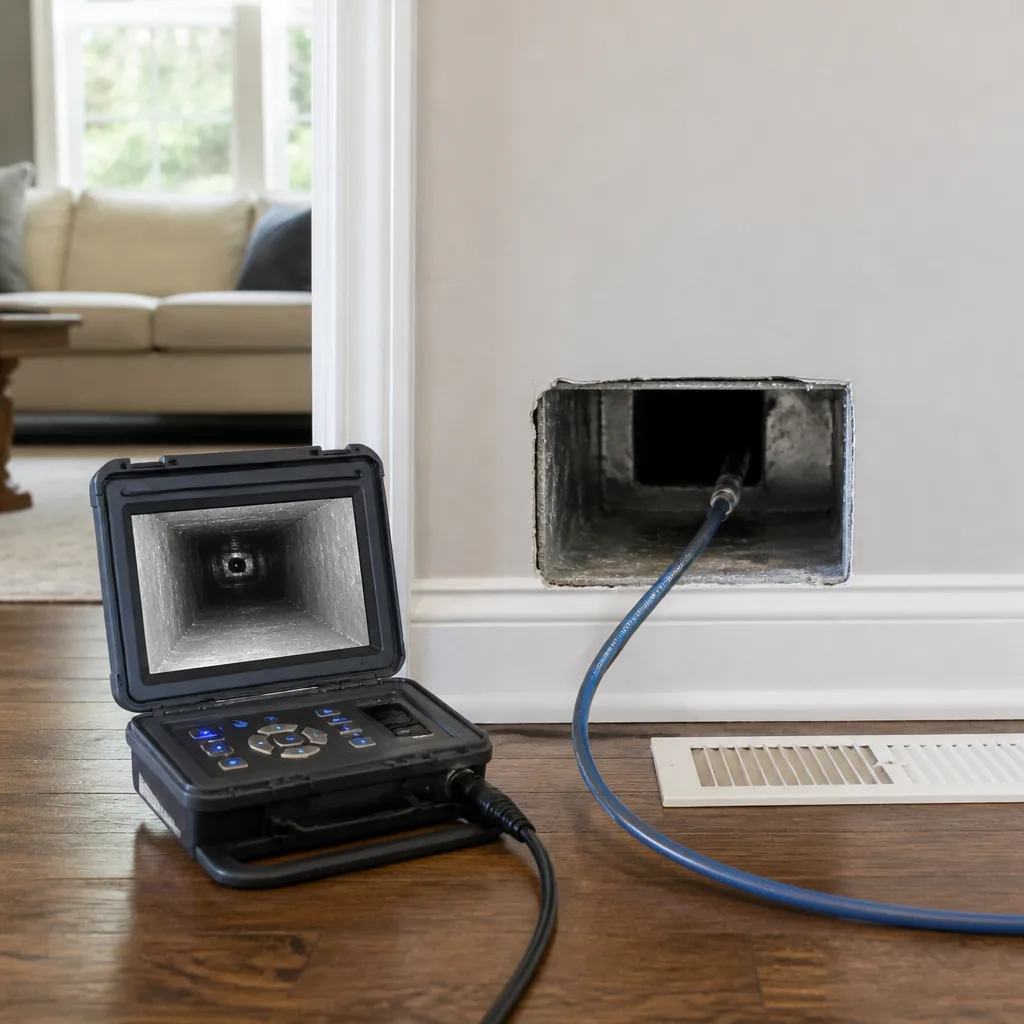 Camera inspection
 Sanitizing & deodorizing
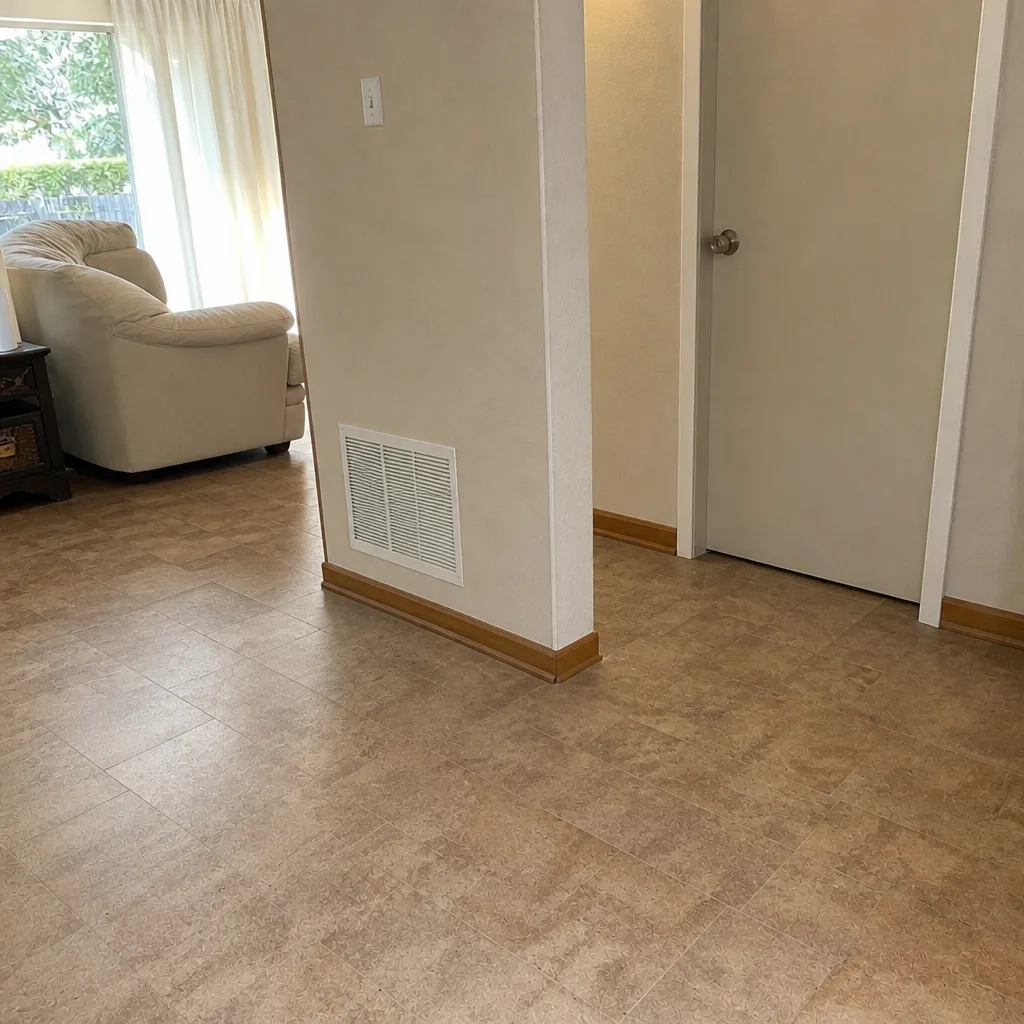
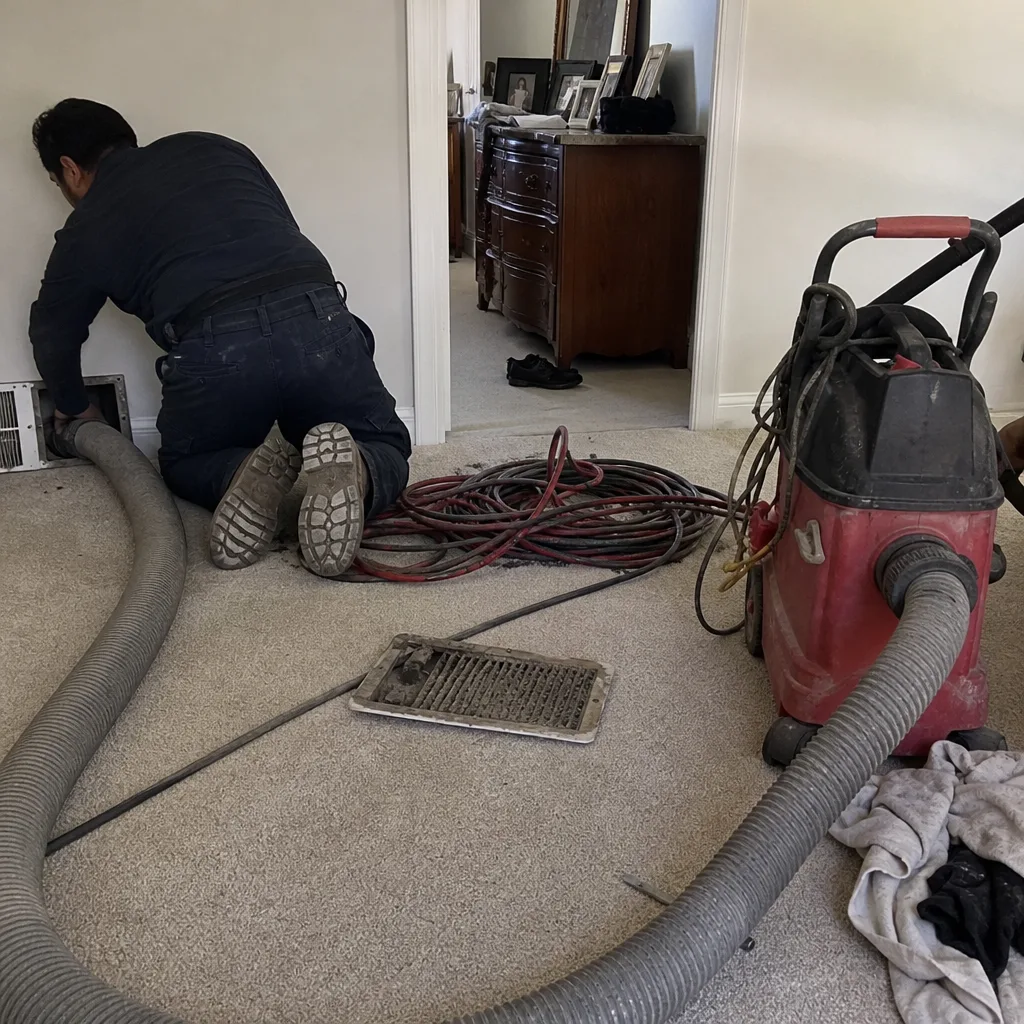
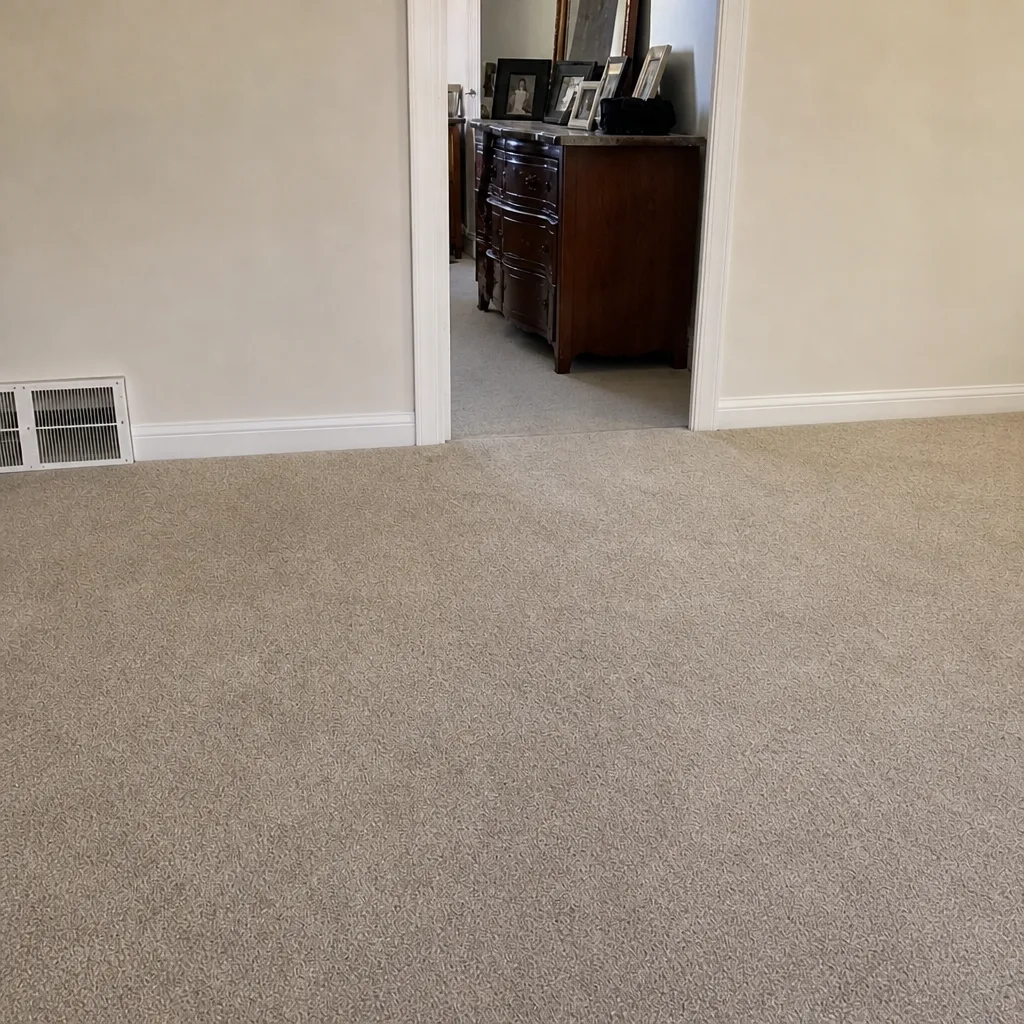
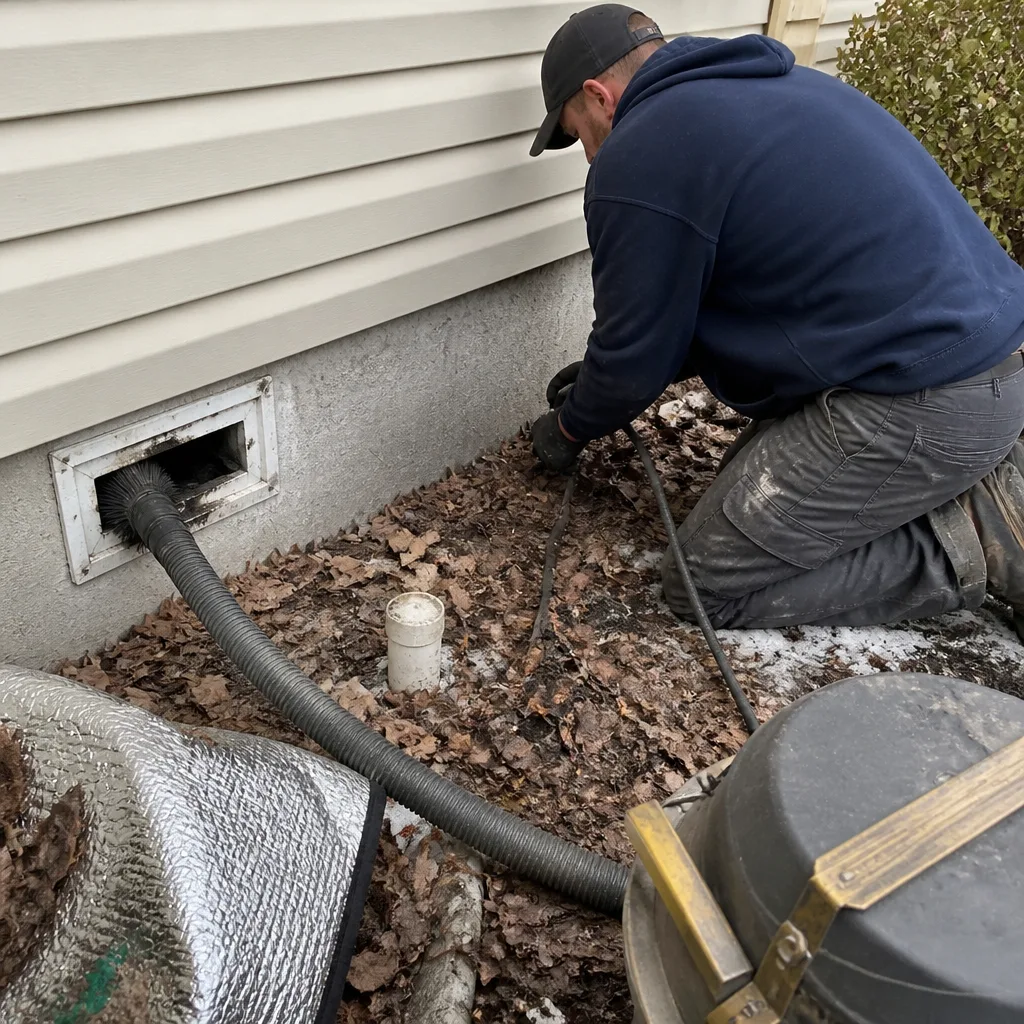
Whole-system duct and dryer vent check with before-and-after photos - you see exactly what came out of your vents
That "$99 whole-house special" is a bait ad - the real number appears once they are in your hallway, or the "clean" is a shop-vac at the register. We photograph the inside of your ducts before and after instead.
Air Duct Cleaning Maintenance Checklist for Spokane Homeowners
Most duct maintenance checklists are written for technicians with a ladder, a camera and a truck full of tools. This one isn’t. A duct system rarely gives out in a single dramatic moment – it degrades in a slow sequence, and a homeowner paying attention can catch each stage long before it turns into a project. The misconception we hear most is that ducts are out of sight and out of mind. They aren’t. Filters darken in a pattern you can read, registers collect debris that tells you which part of the system is failing, and dryer vents give off clues weeks before they become a fire concern. This guide walks through six checkpoints any Spokane homeowner can monitor with no tools beyond a flashlight and a phone for photos. You’ll learn what to look at, what the signs actually mean, what to write down, and the two situations where you stop the checklist entirely and call a specialist.
Styles & brands we work with
- Whole-home duct cleaning
- Dryer vent cleaning
- Camera inspection
- Sanitizing & deodorizing
Quick Answer
A practical air duct maintenance checklist for Spokane homeowners has six checkpoints: inspect filters monthly, look at supply and return registers quarterly, run a dryer vent exhaust test every three months, log everything with photos and dates, schedule professional cleaning based on your filter and debris history, and call a specialist immediately after renovation work disturbs drywall or insulation. The goal isn’t to clean your ducts yourself – it’s to catch problems early enough that a professional cleaning is routine rather than reactive.
Table of Contents
- Checkpoint 1: The Monthly Filter Inspection Protocol
- Checkpoint 2: Reading Your Supply and Return Registers
- Checkpoint 3: The Quarterly Dryer Vent Test
- Checkpoint 4: Building a Maintenance Log That Actually Helps
- Checkpoint 5: Knowing When to Schedule Professional Cleaning
- Checkpoint 6: The Two Post-Renovation Situations That Skip the Checklist
- Common Mistakes to Avoid
- When to Call a Professional
- Frequently Asked Questions
- The Bottom Line
Checkpoint 1: The Monthly Filter Inspection Protocol
Filters are the first line of defense, and in Spokane they do more work than most homeowners expect. The calendar isn’t the best guide. Observations are. Check your filter on the first of every month, hold it up to a light, and look at where the gray-brown buildup sits and how it’s distributed. That pattern tells you more than the color alone.
What filter color actually indicates
The common assumption is that a dark filter means a dirty duct system. Not quite. A uniformly gray-brown filter with even coverage usually means the filter is doing its job and the ducts behind it are getting protection. A filter that’s dark in one corner or streaked in a single band is a different story. That uneven loading often points to a pressure imbalance or a leak upstream, meaning unfiltered air is bypassing part of the filter media. That’s a sign to look further into the system, not just swap the filter.
Spokane’s two filter seasons
Spokane’s climate splits the year into two distinct filter-load situations. Smoke season – typically late summer into early fall – pushes fine particulate into homes through open windows and return intakes, and filters load up faster than the calendar would suggest. A filter that lasts three months in February might be spent in six weeks during a heavy smoke stretch. Off-season, dust and ordinary household debris dominate, and filters tend to hold evenly. Bumping up to a higher MERV rating during smoke season helps, but only if you’re willing to check it more often. A loaded filter chokes airflow and puts stress on your blower.
What to check each month
- Pull the filter and note the distribution of debris, not only the overall color.
- Check the frame and gasket seat for gaps where air can slip past.
- Write the date, filter brand and MERV rating on the edge of the filter with a marker – you’ll thank yourself later.
- Replace when debris covers roughly two-thirds of the surface or airflow at a nearby register feels noticeably weaker.
An HVAC contractor can tell you the right MERV rating for your system. In our experience, homeowners who run higher-MERV filters without checking airflow end up with a strained blower long before the filter looks “full enough” to replace.
Checkpoint 2: Reading Your Supply and Return Registers
Registers are your window into the ductwork itself. A flashlight, a step stool and a few minutes per vent, four times a year, is all you need. What you’re looking for is the debris pattern, not just whether the grille is dusty. There’s a meaningful difference between surface-level dust on the slats and debris that shows up deeper inside the duct, or comes back within days of wiping.
Surface dust vs. duct lining deterioration
Surface-level dust on the register face is normal. Wipe it off, note the date, and move on. Red flags look different:
- White or gray streaks: often settled drywall dust or dust from living space, worth noting but not alarming on its own.
- Brown or black flecks sitting inside the boot: could be loose debris, but when combined with a musty smell or visible flaking, it’s worth a closer look by a specialist.
- Fiberglass particles or insulation fibers visible in the airflow path: generally indicates the interior lining of the duct has degraded. This is where air duct cleaning alone often isn’t enough – the ducts need to be inspected and, if damaged, repaired.
- Moisture or dark staining around the register frame: could indicate condensation, a leak, or a gap in the duct seal. Not something to ignore.
A quick quarterly register check
- Wipe the register face with a damp cloth and note the date.
- Shine the flashlight back into the boot at an angle – the angle matters more than the light itself.
- Compare what you see at supply registers (outbound air) versus return registers (inbound air). Returns usually collect more dust; if a supply looks dirtier than a return, look harder.
- Walk room to room and note which registers get dirtiest fastest – it often tells you where the duct run is compromised.
Because Spokane homes cover such a wide range of ages, from long-standing neighborhoods like South Hill and Browne’s Addition to newer construction on the north side, register debris patterns vary quite a bit from house to house. What looks fine in one home can be a sign of degradation in another, which is why reading the pattern matters more than following a one-size template.
Checkpoint 3: The Quarterly Dryer Vent Test
Dryer vent cleaning is fire prevention, not housekeeping. Lint accumulation in a dryer exhaust line is one of the most common household fire risks, and the warning signs are easy to miss because they build up slowly over months. You can run a simple two-part test every three months with nothing but your hands and a clock.
The lint-trap test
Clear the lint trap after every load – that’s routine. The quarterly test goes further: pull the trap and look down into the trap housing with a flashlight. If lint is packing into the housing rather than sitting loose, the exhaust path behind it is likely restricted. That’s the moment to look further.
The exhaust-time test
Run a normal load on your usual setting and time how long it takes to dry fully. Now compare that to what you remember from months earlier. A dryer that used to finish a load in one cycle and now needs two is sending you a message. Heat is building up in the vent line because it can’t escape efficiently. Along with longer dry times, watch for:
- The dryer cabinet or the wall behind the dryer feeling unusually warm to the touch
- Clothes coming out hotter than normal
- A burning or scorched smell in the laundry area
- Visible lint outside the exterior vent hood
- A vent flap that doesn’t open fully or stays propped open
Any two of those together is enough to skip the checklist and call for dryer vent cleaning. The test takes five minutes and it’s the single highest-value habit on this list.
Checkpoint 4: Building a Maintenance Log That Actually Helps
A maintenance log is only useful if it feeds into real decisions. Most homeowners start one and abandon it within two months because they’re logging too much. Keep it simple and consistent: dates, photos, filter details, and observations. That’s enough to inform your professional cleaning schedule with actual data about your home instead of a guess.
What to log
- Filter change dates – not just when you changed it, but what the old filter looked like (photo).
- Filter brand and MERV rating – written on the filter edge and in the log. Makes pattern-matching easier over time.
- Register inspection photos – one per season, from the same angle, so you can compare like for like.
- Dryer exhaust-time results – a simple number in minutes each quarter.
- Any renovation or major work nearby – even painting and floor refinishing matter, because debris can travel into returns.
- Odor notes – a small “musty,” “smoky” or “chemically” comment next to a date can flag a developing issue before the eye can see it.
How the log informs your cleaning schedule
Professional duct cleaning isn’t on a fixed interval – it depends on how fast your own system loads up. A log showing filters that consistently go dark in six weeks rather than twelve is telling you something. A log showing register debris returning within a week of wiping indicates duct lining trouble. A log where the dryer exhaust time is creeping upward month by month points to vent buildup. When you can hand a technician that log, the cleaning and inspection become targeted rather than generic. That’s the difference between a routine visit and a genuinely useful one.
Checkpoint 5: Knowing When to Schedule Professional Cleaning
There’s no universal cleaning interval – it depends on the home, its occupants, filter load and local conditions. But there are clear signals that mean “schedule now” rather than “schedule sometime.” Recognizing them saves you from calling in a scramble after a problem gets worse.
Signals that it’s time
- Filters loading faster than usual across two or more consecutive changes
- Visible debris accumulating on registers within a week of wiping
- Persistent musty or dusty smell when the system runs
- Noticeably uneven airflow between rooms
- A recent move-in, especially where the prior occupants had pets, smoked indoors, or left the system untouched for years
- Recent renovation anywhere in the home (handled separately in the next section)
- Dryer exhaust times consistently climbing across quarters
What professional cleaning actually involves
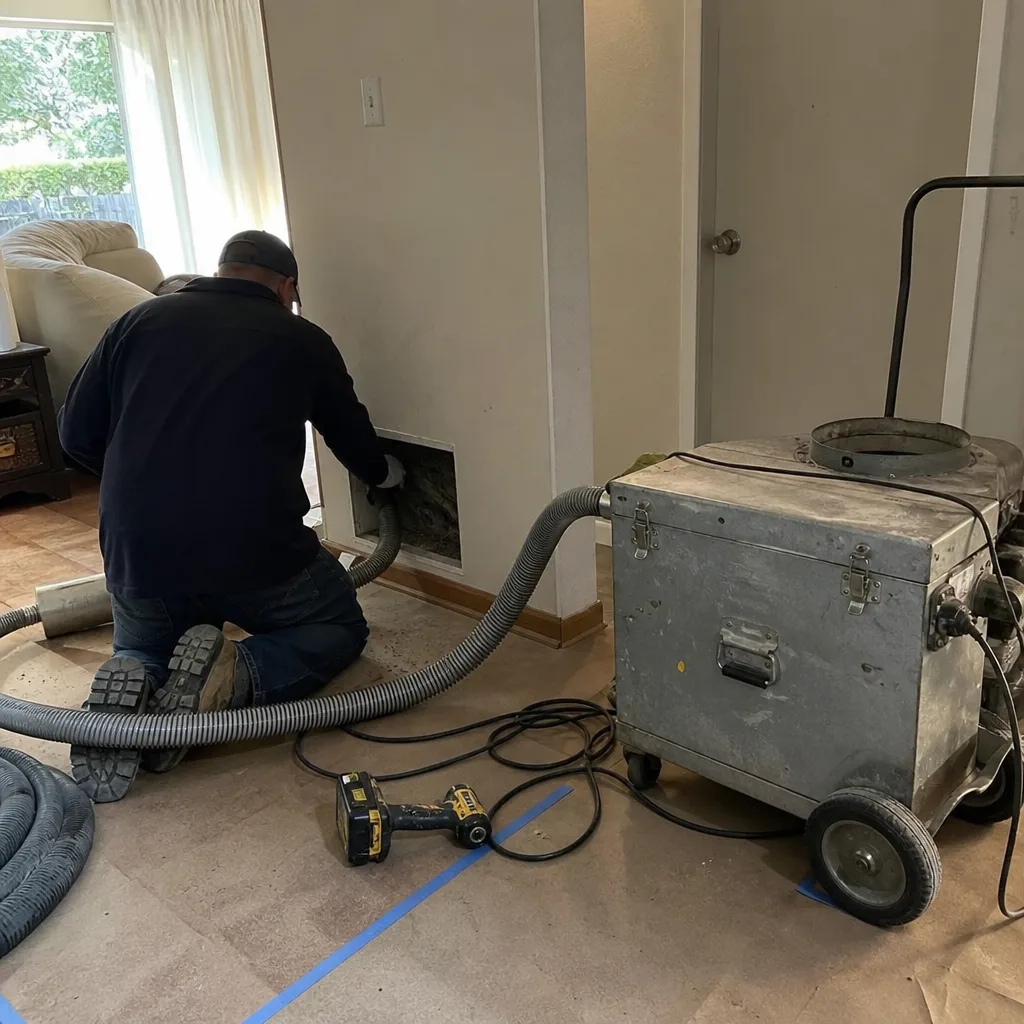
Professional-grade cleaning uses equipment built for the job – a Rotobrush or Nikro system is the industry norm for residential residential duct cleaning, because it combines controlled agitation inside the ductwork with negative-pressure capture so debris leaves the system rather than being pushed into the room. That’s not a shop-vac job, and it’s not something your toolbox can substitute for. The same is true of containment – equipment like Abatement Technologies systems is used when a job calls for elevated care around air quality or dust control. When we inspect a system, the cleaning is tailored to where the debris and degradation actually are, not just run through the vents for a set number of minutes.
Air duct repair as a follow-on
Sometimes cleaning reveals a problem that cleaning alone won’t solve – sagging flex duct, disconnected pieces, torn liner, or gaps that leak air into unconditioned space. Air duct repair is a distinct step, and it’s worth having someone on the same visit who can diagnose and fix it rather than hand you a second number to call. Clean ducts and repaired ducts are the goal; one without the other leaves the system working harder than it needs to.
Checkpoint 6: The Two Post-Renovation Situations That Skip the Checklist
Most renovation projects are fine to log and monitor. Two are not. In both cases the checklist stops, and a professional should be called before you run the system or start wiping registers on your own.
Situation 1: Drywall dust
Drywall dust is fine enough to pass through most standard filters and settle deep in the ductwork. It’s also alkaline and mildly abrasive – long-term exposure to moving air can rough up the inside of duct lining and wear on blower components. After drywall work, do not run the HVAC system to “clear things out.” That pushes dust deeper. Call for professional cleaning once the work is finished and construction dust has settled, and mention the drywall work when you call so the crew brings the right containment equipment.
Situation 2: Insulation disturbance
Disturbing blown-in or batt insulation – common in Spokane attics during remodels, weatherization work, or electrical upgrades – releases fiberglass and cellulose fibers into the air. Those fibers are the exact kind of thing you don’t want circulating through your ductwork and back into living space. It’s not a dust problem you can wipe away at the register. It’s a system-level job that needs proper containment and professional attention before anyone runs the system again.
Why these two skip the checklist
Every other sign on this checklist builds slowly and gives you time to react. Drywall dust and insulation disturbance are the two where the checklist becomes an excuse to delay. The right move is to stop, call a specialist, and let them assess before you start touching registers, changing filters or running the system. That’s the one place where monitoring doesn’t help – it just delays the fix.
Common Mistakes to Avoid
- Only looking at the filter color. The distribution of debris tells you more than the overall shade. Uneven loading can mean an upstream leak or pressure issue worth investigating.
- Running the HVAC system to “blow out” dust after renovation. It pushes debris deeper into the ductwork and lines. Call for professional cleaning instead.
- Skipping the dryer vent test because “we clean the lint trap.” The trap is the easy part. The exhaust line is where the fire risk sits, and that’s the part the quarterly test actually checks.
- Calling the cheapest duct cleaning crew that shows up in a mailer. A low teaser price that becomes a larger invoice once the tech is on site is the industry’s worst habit. Ask for the equipment name, the flat price per system, and before-and-after photos before you book.
- Ignoring a musty smell because “it’s just a little old house smell.” Persistent odor when the system runs often points to moisture or biological activity inside the ductwork, and it’s worth a professional look.
- Assuming ducts only need cleaning, never repair. Cleaning can reveal torn liner, disconnected runs or sagging flex. If repair isn’t offered on the same visit, you’ll be calling a second contractor.
- Scheduling cleaning on a random interval instead of your own filter and register history. The log is the whole point. Without it, you’re guessing at the right cadence for your specific home.
When to Call a Professional
There are clear situations where the checklist stops being useful and professional attention is the right call. Any of the following means you’re past the monitoring stage: visible fiberglass or insulation debris in the airflow path, moisture or dark staining around a register frame, a persistent musty smell when the system runs, a dryer that takes noticeably longer than it used to (or feels hot behind the dryer), a renovation that produced drywall dust or disturbed insulation, or a filter that keeps loading faster and faster. These are the signs that routine cleaning alone may not fully address the underlying cause and a proper inspection of the ductwork itself is worth the phone call.
Duct Cleaning Spokane offers free estimates in Spokane – call (866) 963-7098. We answer 24/7. Fast dispatch from 7am to 7pm, Sunday through Friday. We use professional-grade Rotobrush and Nikro systems, work with Honeywell and Aprilaire air management systems, and offer air duct repair on the same visit if cleaning reveals damaged ductwork. Estimates are free, and the written estimate is what sets the price.
Frequently Asked Questions
There’s no universal interval – it depends on your filter-load history, register debris patterns and any recent renovations. A good rule of thumb is to use your maintenance log as the guide: if filters consistently load in half the expected time or register debris returns within a week of wiping, you’re due. Otherwise, most homes benefit from a professional cleaning and inspection every few years, with more frequent visits after significant renovation work or a move-in.
Surface dust is ordinary – wipe it, log the date, and watch for returns. Real duct problems show up as visible fiberglass or insulation fibers in the airflow path, moisture or dark staining around the register frame, or debris that returns within days of cleaning. Those signs point to duct lining deterioration or a gap in the system, and they warrant a professional inspection, not just a wipe-down.
It’s fire prevention. Lint buildup in the exhaust line is a genuine fire risk, and it hides behind the dryer where you never see it. The quarterly test – clear the lint trap, watch the exhaust time across a few loads, and check for heat buildup behind the dryer – is the fastest way to catch the problem. If the dryer takes noticeably longer than it used to, or the wall behind it is warm, call for dryer vent cleaning rather than waiting.
Professional-grade equipment, not consumer tools. Rotobrush and Nikro systems are standard for residential duct cleaning because they combine controlled agitation inside the duct with negative-pressure capture so debris actually leaves the system. Elevated air quality scenarios may call for equipment like Abatement Technologies systems. If a crew shows up with a shop-vac, ask why – it’s not the same thing.
Duct cleaning that leaves the system cleaner than it started requires equipment built for containment and proper agitation. Homeowner vacuums can disturb more debris than they remove, and without negative pressure, that debris ends up settling in living space. The better use of homeowner time is the six checkpoints in this guide – those build the information that makes a professional cleaning targeted and effective.
Stop the checklist, and don’t run the HVAC system to clear the air. Drywall dust and insulation fibers are exactly the materials that cause real damage to duct lining and blower components, and running the system pushes them deeper. Call for professional cleaning and inspection, and mention the renovation work when you book so the right containment equipment is on hand. Duct Cleaning Spokane offers free estimates in Spokane – call (866) 963-7098.
The Bottom Line
Duct maintenance isn’t a mystery – it’s a set of six checkpoints you can actually monitor. Watch your filters monthly and read the debris pattern, not just the color. Wipe registers quarterly and note what’s there. Run the dryer vent test every three months. Keep a simple log. Use the log to time professional cleanings sensibly instead of guessing. And when drywall dust or disturbed insulation shows up, skip the checklist and call a specialist. That’s the whole practice, and it’s the difference between a home whose ductwork stays healthy for years and one that quietly degrades until a bigger project is the only fix.
We focus on exactly three things – air duct cleaning, dryer vent cleaning and air duct repair – because a specialist’s attention doesn’t get diluted by other trades. Our technicians have up to 13 years of experience, and every one of them works in air duct and dryer vent services exclusively. If you’re ready to have your system cleaned, inspected and, if needed, repaired, we can schedule a visit in Spokane. Estimates are free. Call (866) 963-7098. We answer 24/7. Fast dispatch from 7am to 7pm, Sunday through Friday.
Written by the team at Duct Cleaning Spokane.
See the difference
 Before
 After
 Before
 After
 Before
 After